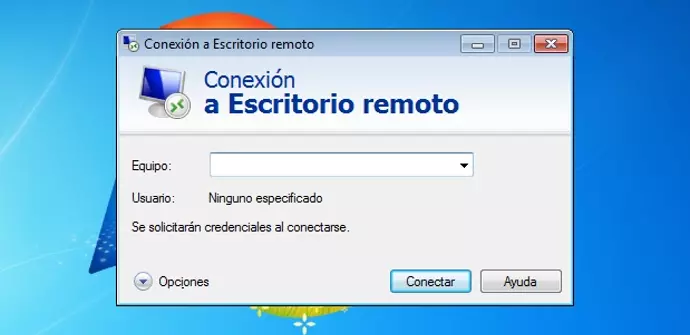
remote Desktop Windows 10
Local network remote access configuration
To enable the
remote Desktop Windows 10 you must go Start > Settings > System > remote Desktop and activate Enable
remote Desktop.
Now write down the computer name so that a remote computer can connect, the computer you want to connect to
remote Desktop You just have to go to start and search for Connection to remote Desktop and upon entering we enter the name of the PC of the computer where we are going to connect and if it asks us for username and password we enter the data of the remote computer that is used when logging in.
External network remote access configuration
So that he
remote Desktop works outside the internal network and a computer allows any other PC or device to connect remotely, it must have the following additional configuration: you must open port 3389 on your router or call your operator to open it and you must request give your provider a fixed IP, port 3389 is for your router to allow external connections to be made and the fixed IP would be the access so that users can connect to the
remote Desktop external, to mount the acquired IP address you must do the following:
If you have configured your Lan cable network
Home > Settings > Network and Internet.
Do one of the following actions:
For a Wi-Fi network, select Wi-Fi > Manage known networks. Choose the network you want to change the settings for, and then select Properties.
For an Ethernet network, select Ethernet, and then choose the Ethernet network you are connected to.
Under IP Assignment, select Edit.
Under Edit IP Settings, select Automatic (DHCP) or Manual.
Manually specify IPv4 settings
Under Edit IP Settings, choose Manual, then turn on IPv4.
To specify an IP address, in the IP Address, Subnet Prefix Length, and Gateway boxes, type the IP address settings.
To specify a DNS server address, in the Preferred DNS and Alternate DNS boxes, type the addresses of the primary and secondary DNS servers.